
I should start by saying that my sewing ability is born from one summertime sewing class that my mother enrolled me in when I was 10 years old, from which I learned how to pin, iron, sew in a relatively strait line and read a basic pattern. These life-skills have served me well over the years but I wouldn’t describe myself as a “sewer”. But, when our county hospital association, University of Maryland Upper Chesapeake Health, sent out a hospital-approved pattern with a plea to the public to make masks because they foresaw an immediate need for “at least 4000 masks”, I jumped at the opportunity to contribute something concrete during this COVID-19 crisis.
I have extra fabric in the the house leftover from when I owned a French macaron shop because I made tea-towels for gift-baskets; I knew my mother had more bias-tape in her sewing basket than any one person could possibly use in one lifetime; and my neighbor, who was also keen to make these masks, offered to brave a trip to the fabric store to buy the quilt-batting needed for the pattern.
However, the day after I saw this public plea the hospital association sent out a follow-up announcement informing us that they received a large donation of several thousand masks from a construction company which had been approved for hospital use, and that for the time being the home-made masks were not needed. I had already downloaded the pattern and decided to make masks anyway for my loved ones – a handmade mask seems like an appropriate care-package during these times, right? Now that I’m three days into this project I can only smile thinking how little I could have possibly contributed to the ASAP need of 4000 masks – each of these buggers takes me an hour and a half to make!
So, Lets Get Sewing:
The pattern I received from University of Maryland Upper Chesapeake Health is sadly no longer online, when I went to the link (from which I printed my pattern 3 days before) the pattern is no longer available, just a statement that because of a donation of construction masks the home-made masks are no longer requested. Several days later the Upper Chesapeake Health Foundation published this new plea for masks, to be used in hospitals by workers not in direct contact with patients: https://www.umms.org/uch/coronavirus/masks You can find directions for two types of mask including one almost identical to what I made in above photos.
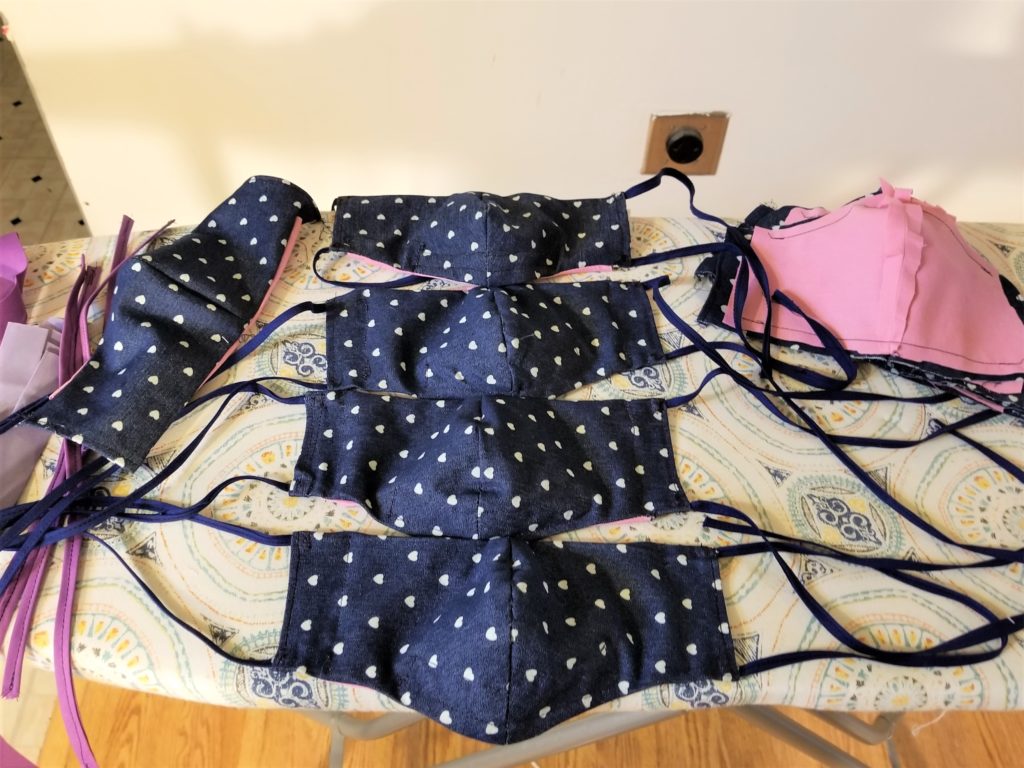
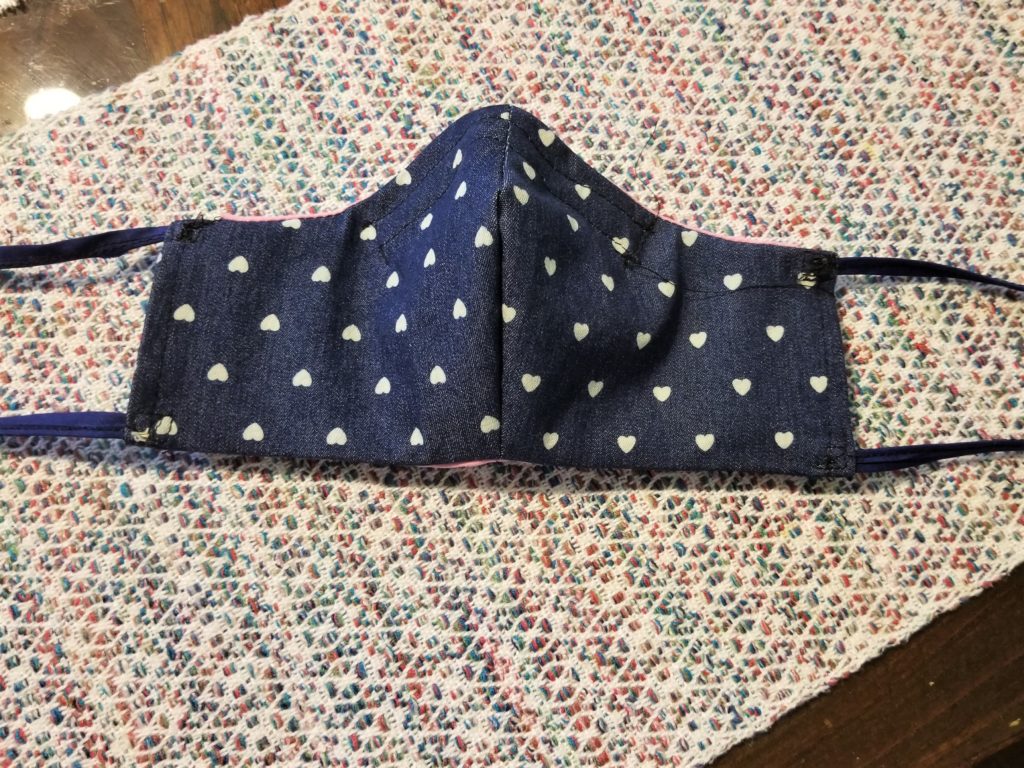
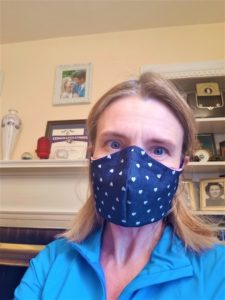
This mask is comprised of three layers of fabric including a center layer of quilt-batting. A thin wire is sewn into the the top of the mask so that it can be molded to your nose for a snug fit. The mask is secured with ties, not elastic, because elastic will eventually stretch-out and these masks are designed to be worn multiple times ( machine-washed, dried and ironed after each use). I found two links for patterns which look almost identical to the pattern I’m using, from the Sweet Red Poppy blog (a link for this video is also included in Upper Chesapeake website above) and Instructible Crafts – the only differences are:
- One uses elastic for the straps, but use bias tape as in the video tutorial;
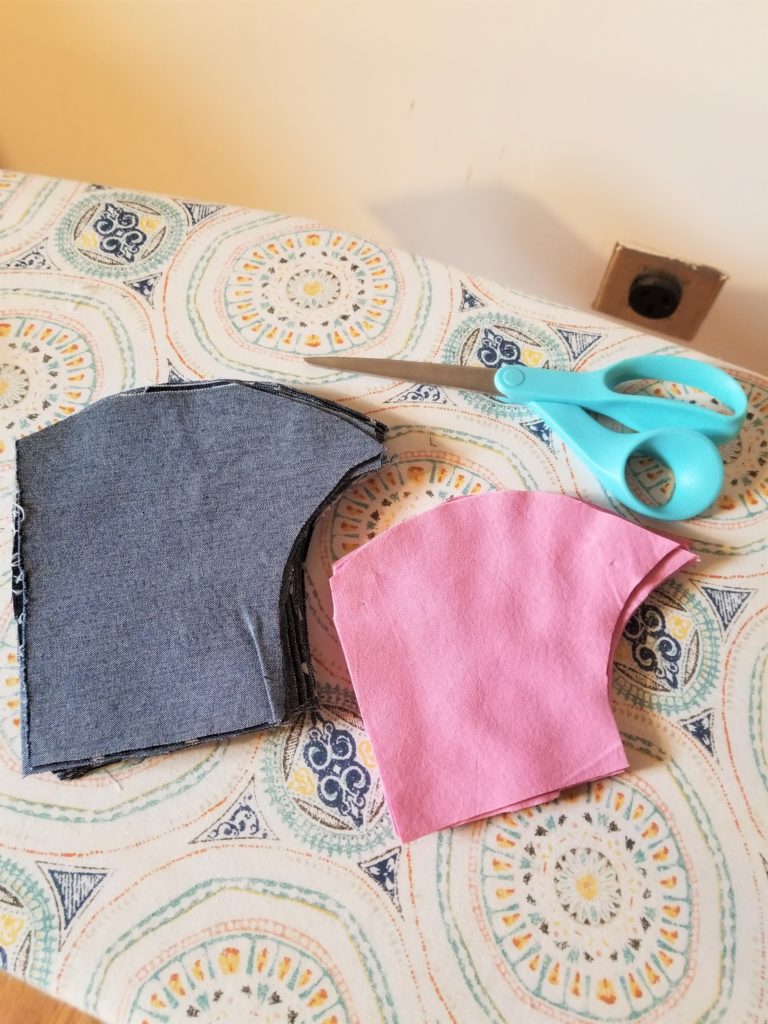
- They don’t use the lining in the video, so before sewing up your seam after turning mask right side out, slip in a piece of quilt batting cut to fit. With the eraser end of a pencil poke it flat inside the mask until it lays smooth. Sew up seam, then “quilt” the mask with a few cross stitches so that the batting won’t move around or bunch up when you wash it.
- The illustrated pattern uses other materials for that middle-layer (t-shirt fabric for example). If you have access to quilt-batting I would suggest using it.
- Instead of stitching over the nose-wire with a zigzag stitch (shown in the video) sew a 4’5″ piece of bias tape onto the mask (as shown in my photo above right) and slip the wire into that – it’s much more durable and comfortable! You can find the pattern and step by step instructions by video or illustration at the links below :
https://www.instructables.com/id/DIY-Cloth-Face-Mask/
Sewing Tips:
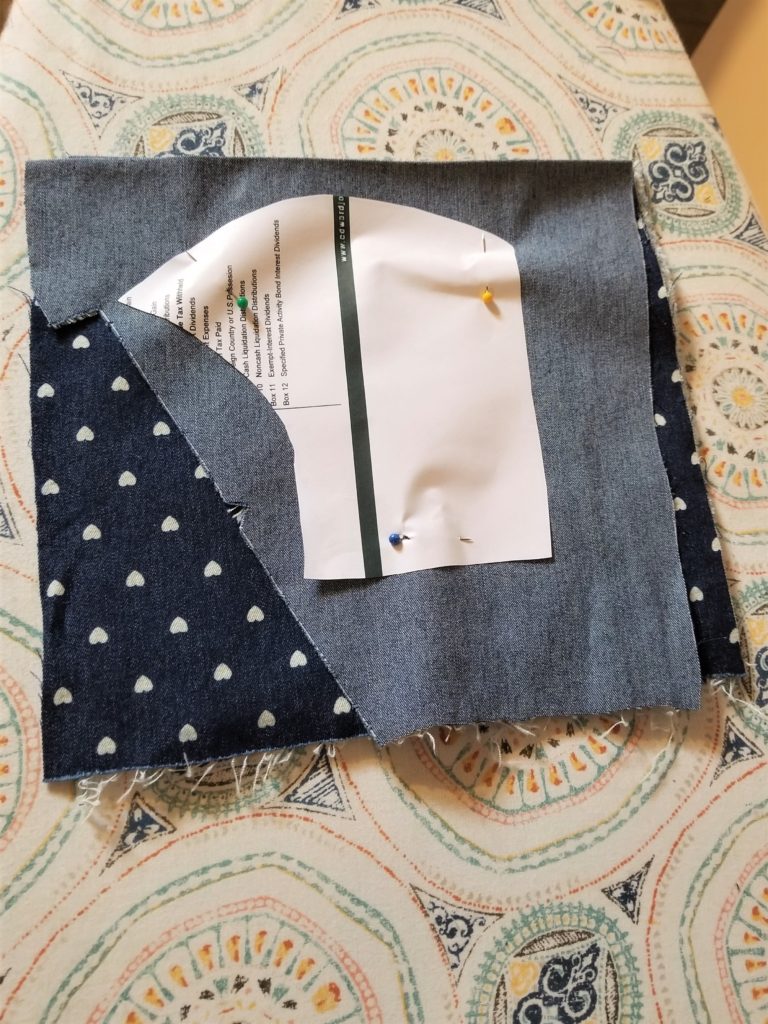
- For making multiple masks I’ve been able to cut out up to four masks at a time without compromising my scissors.
- I have increased the amount of masks I can make with my available fabric by using 7″ x 14″ pieces instead of the 8″ x 16″ pieces the pattern suggests – you still have plenty of fabric to pin and cut-out your pattern.
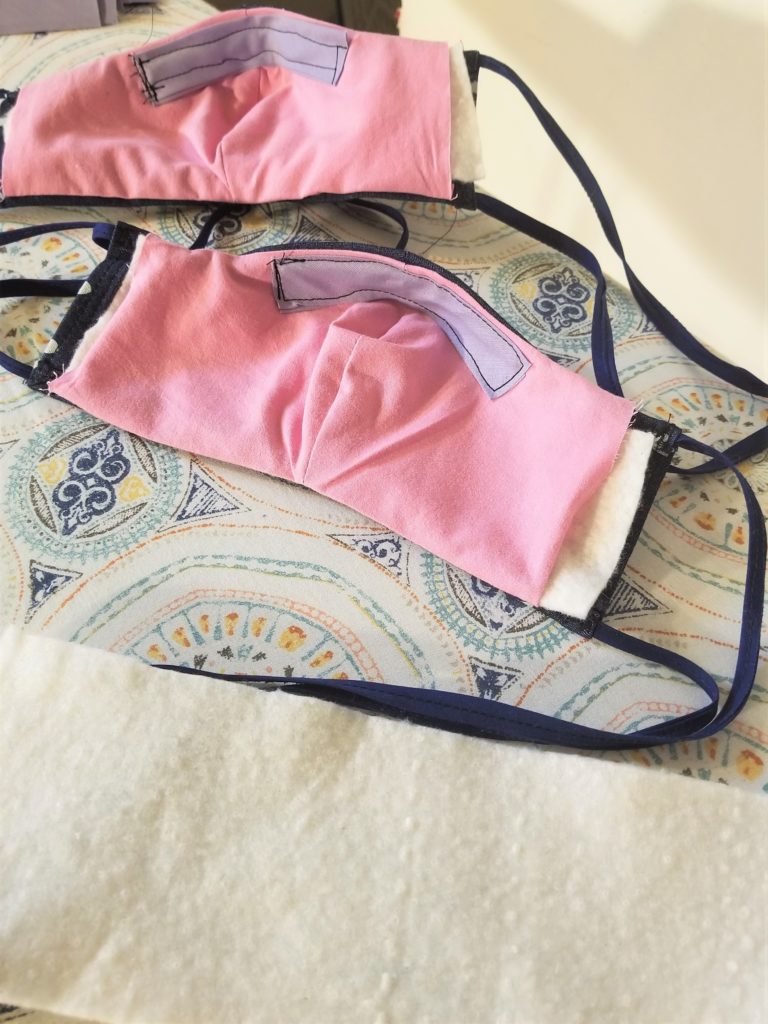
- I found that completing steps 1-12 for all the masks I’m working on (to the point of reversing and ironing the mask, before sewing on the ties) is more efficient than making each mask from start to finish on its own. After completing step 12 for all of them, I do steps 13-18 for one mask at a time. As I mentioned before, on average it’s still taking me about 90 minutes for each mask if I average the hours I’ve worked and the masks completed.
- These masks should be machine washed, dried and ironed after each use. I suggest washing in warm water if you sew in your batting layer because washing in hot water eventually will break down the fiber, offering you less of a filter.
If You Really Don’t Want to Make Your Own Mask:
One of my favorite green companies, Etee started making cotton masks this week – in addition to cloth sandwich wraps, snack bags and all sorts of other environmentally friendly replace-plastic products. Plus for every mask you purchase one will be donated to a community in need.

Mask or not, “How Are You Doing?” Never Felt So Important
Making these masks, knowing that I’ll have them finished and ready to send as care-packages with one single trip to the post office on Monday, has helped me emotionally. A useful project helps stay away those anxious feelings which serve no real purpose but are no doubt creeping up on all of us right now. I hope that you all understand that whether
you make a mask or not, we’re all finding unique ways to make a positive difference. Each of us will find ways to say “I love you” and help each other. Each of us will find ways to ask “How are you doing?” at the moment a friend or family member needs it most. And, I hope that each of us continues to find ways to be more safe, because every expert I see on television or in the news is telling us that it’s going to get worse before it gets better. Please stay home as much as you can, wear a mask and gloves when you must be in shops (or the post office!) so that you stay as healthy and strong as possible. Sending out love and strength, Wanda.
Do you make these for purchase?
Hi Debbie, I’m not making these for purchase but when I was searching the web for a pattern identical to the one I’m using I noticed several types of masks on line for sale – I would check out etsy. Look for a mask that has an inner-layer of either quilt-batting or charcoal-filter; and a metal wire over the nose so you can adjust it for a snug fit. And please feel free to share the patterns to anyone with basic sewing skills (believe me, my skills are very basic!) if they’re interested in making masks for people – to give away or sell – I think we’ll be needing as many as we all can sew for a while. I’m reading about nurses and doctors around the country who are scared and have been instructed to ration their masks to one per week, I wish I could make these a little faster! Stay safe and good luck to you.
I wish I knew how to sew. Three coworkers and myself are essential workers and prep and hand out meals. We have been unable to find mask
I am so sorry Tam, it’s crazy that there is such a shortage of masks – I know that Joanns fabric store has started working with Maryland hospitals to mobilize their sewing community to make masks, after I complete this current batch ( I am so slow!) I will start to make them for our local nursing home and essential workers in our community. I encourage you to share these patterns with anyone you know who has basic sewing skills. What you’re doing is so important I wish I knew who to direct you to get the protective gear that you need.